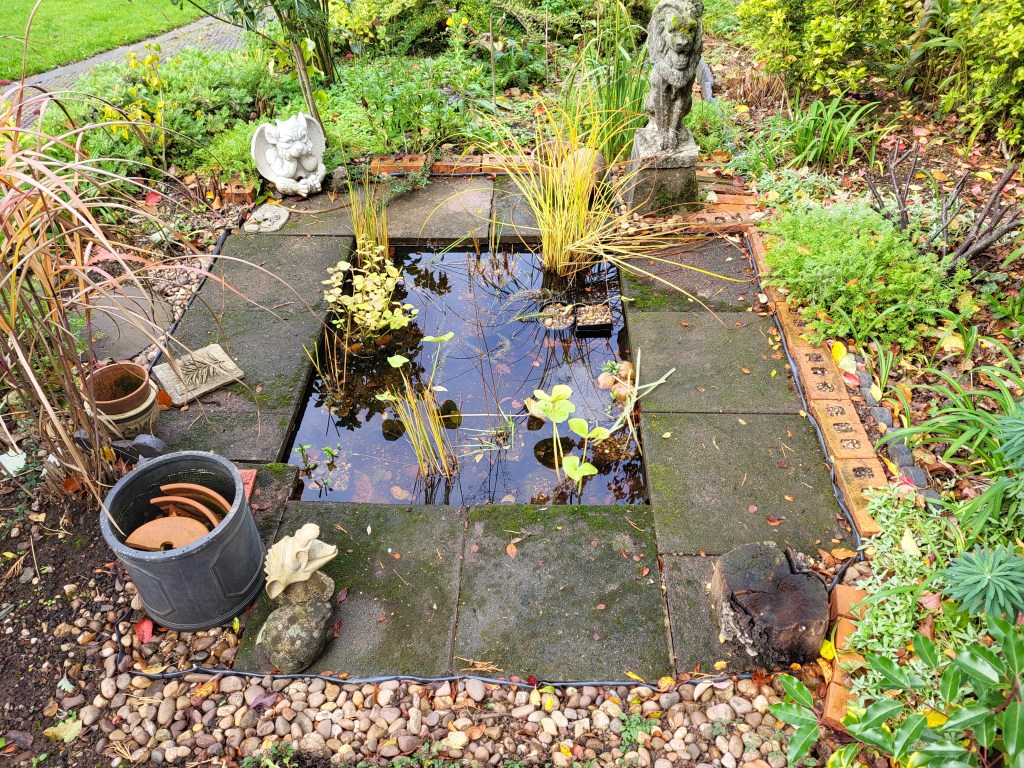
After all the work involved in the relining and remodelling of Tiny Pond, you might think I would take a break from pond sludge and shifting gallons of rainwater, but no. As soon as Tiny Pond was looking good, my thoughts turned to Lion Pond where I’ve had the same issue that drove me to empty Tiny Pond. Lion Pond has never filled fully to the top, so the liner has always shown a little and the overall effect has been uneven. Many people wouldn’t mind a it of liner showing but I have a ‘slightly obsessive’ brain that won’t give up until it’s right, so it was only a matter of time before the job had to be done.
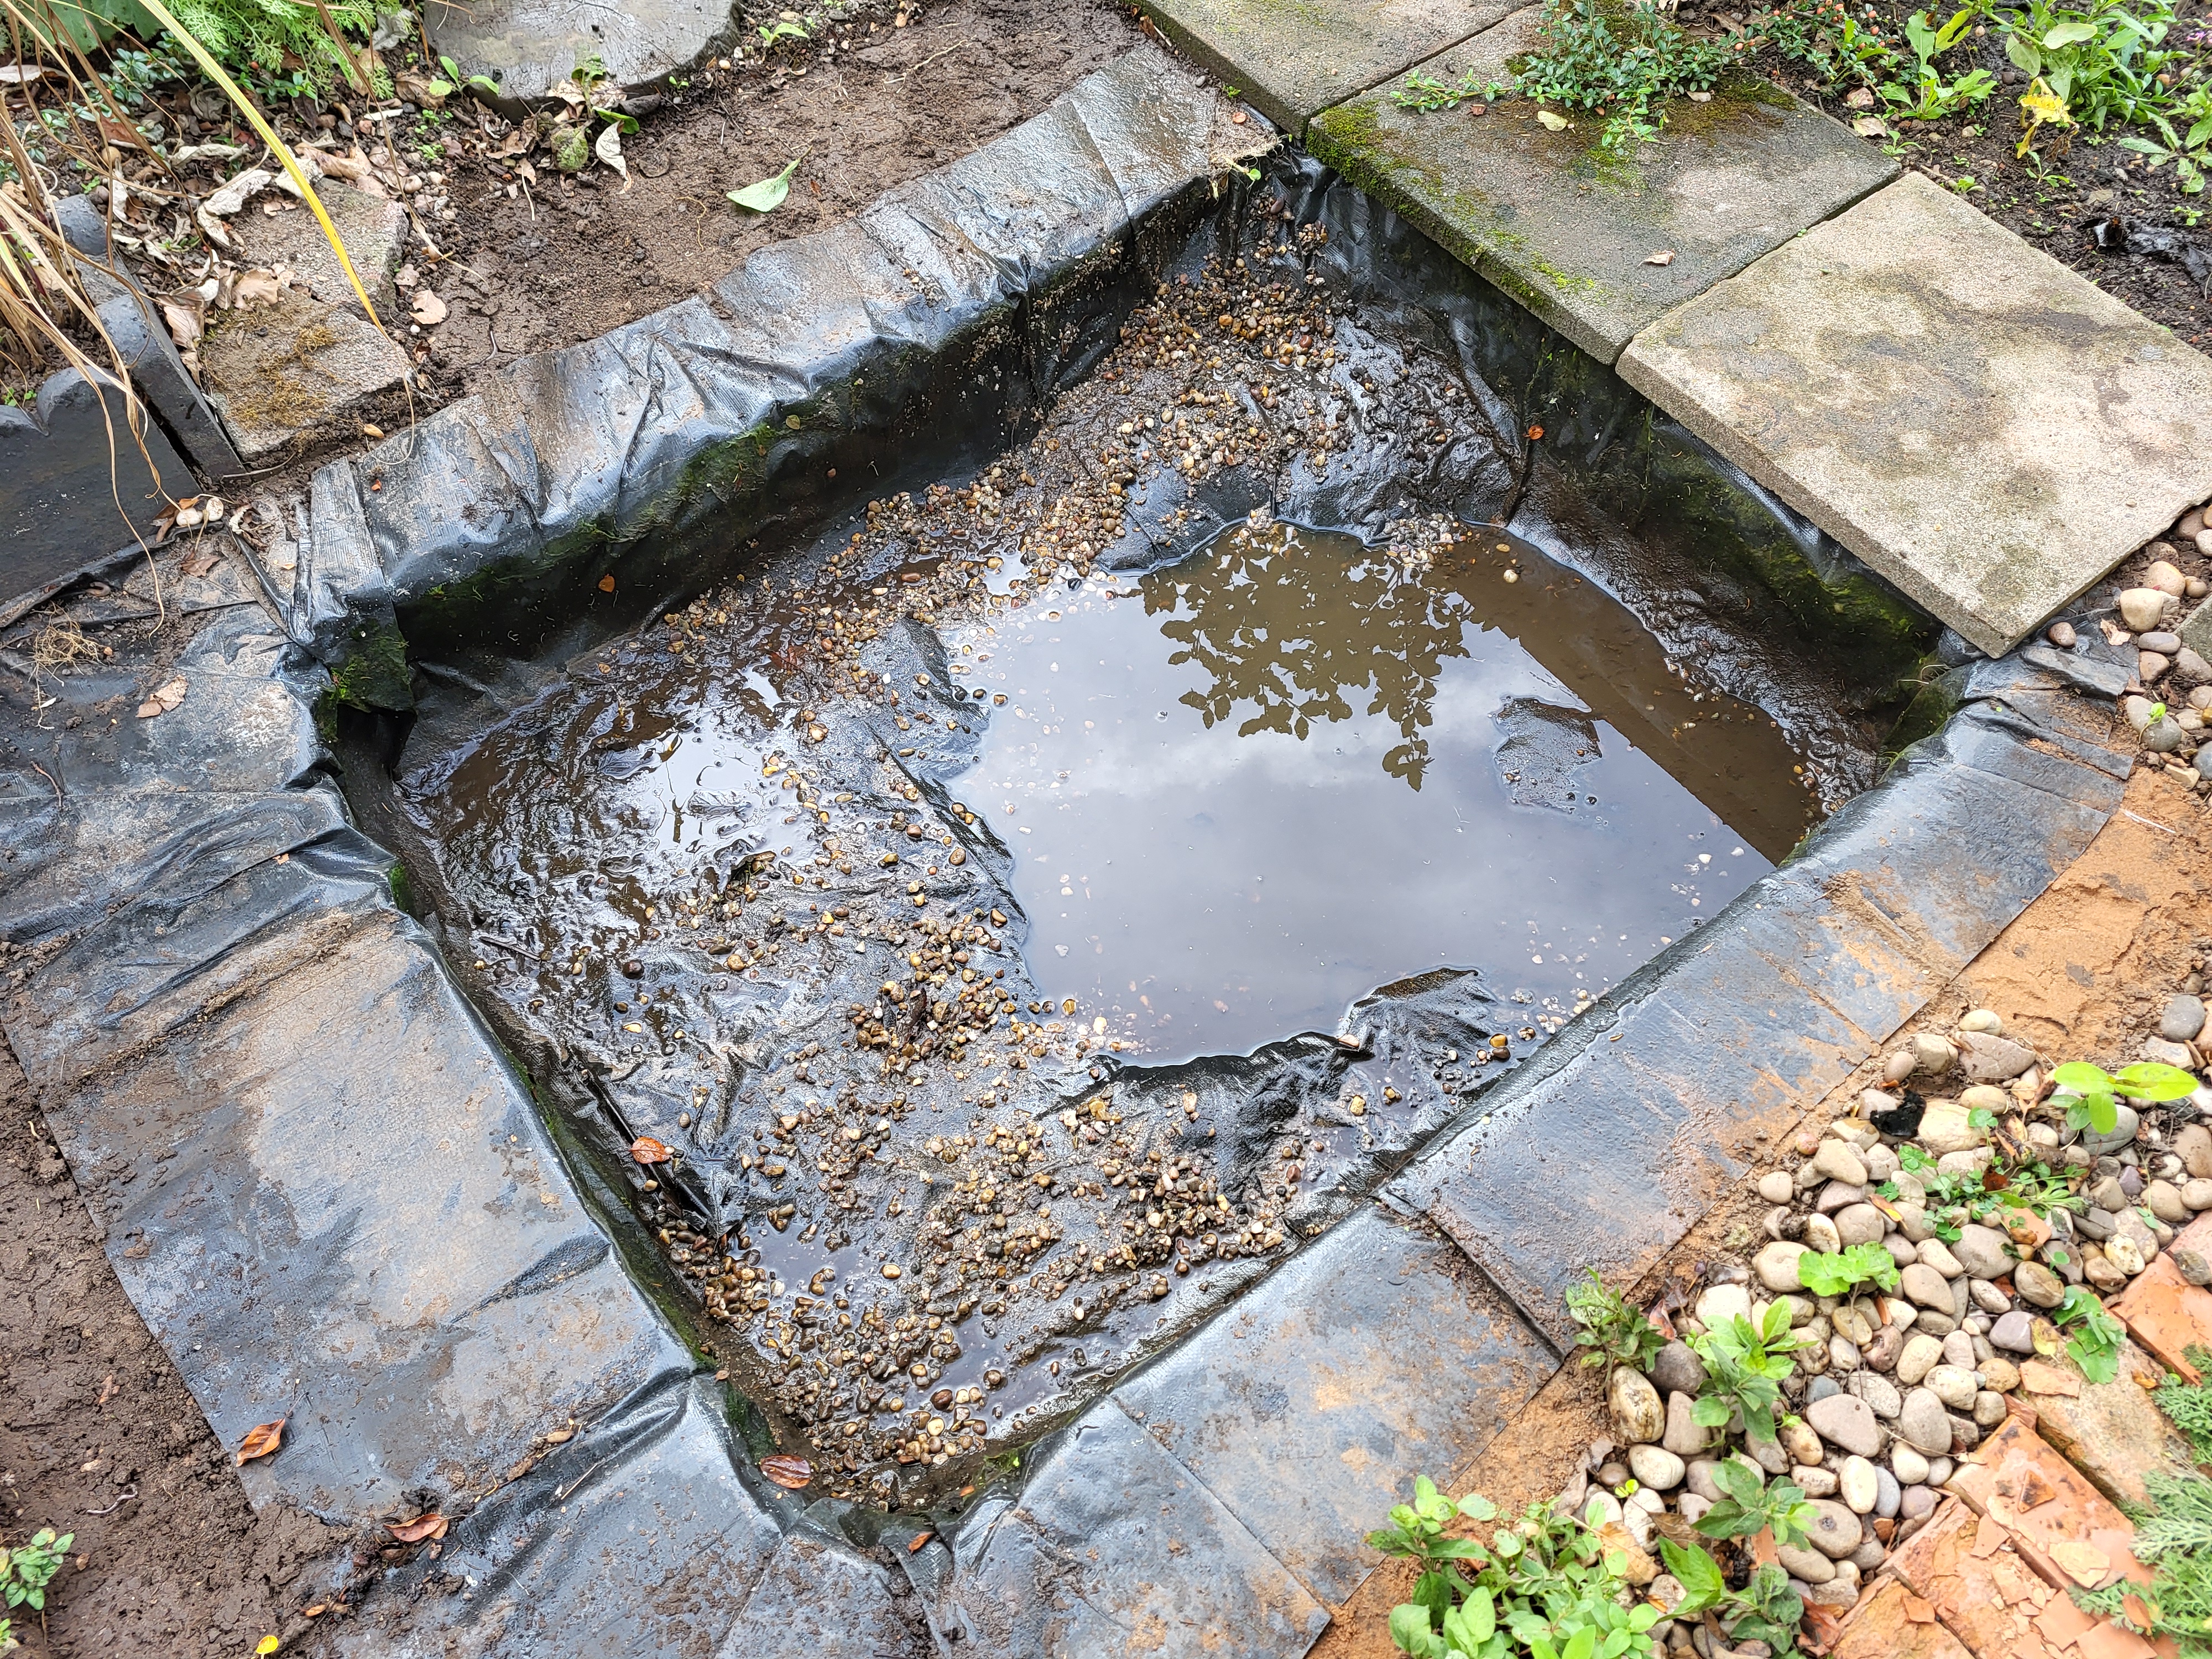
I started by moving pots and decorative pebbles, draining the pond, saving any signs of pondlife (the paddling pool came in handy again as a temporary home), and lifting the slabs.
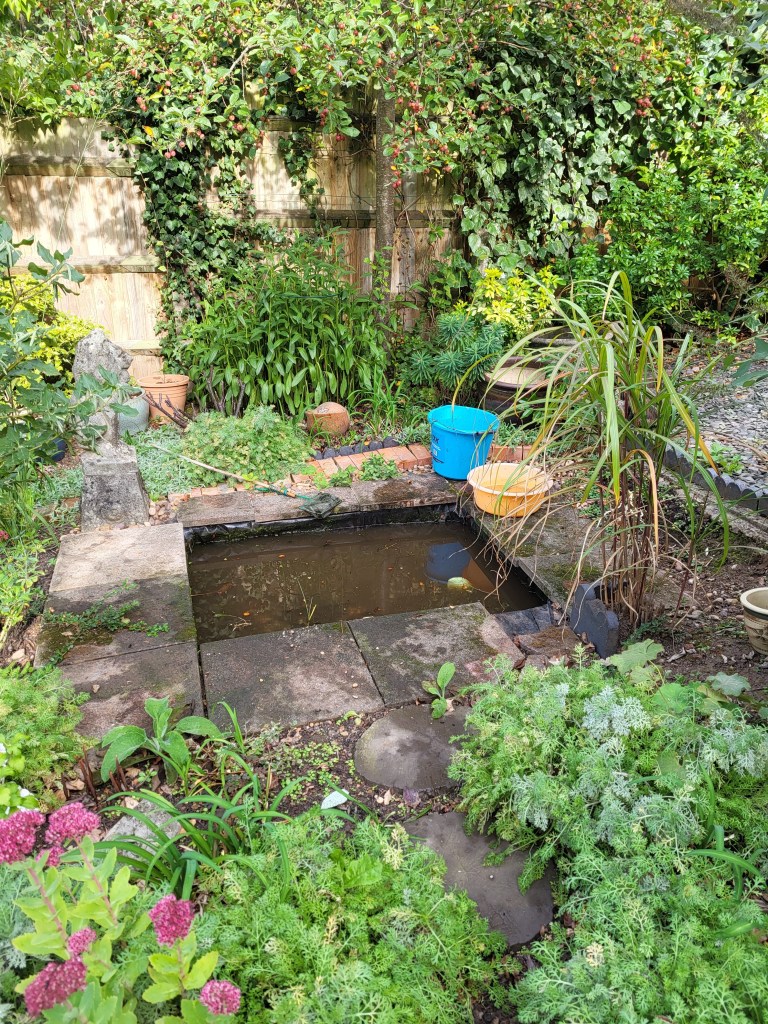
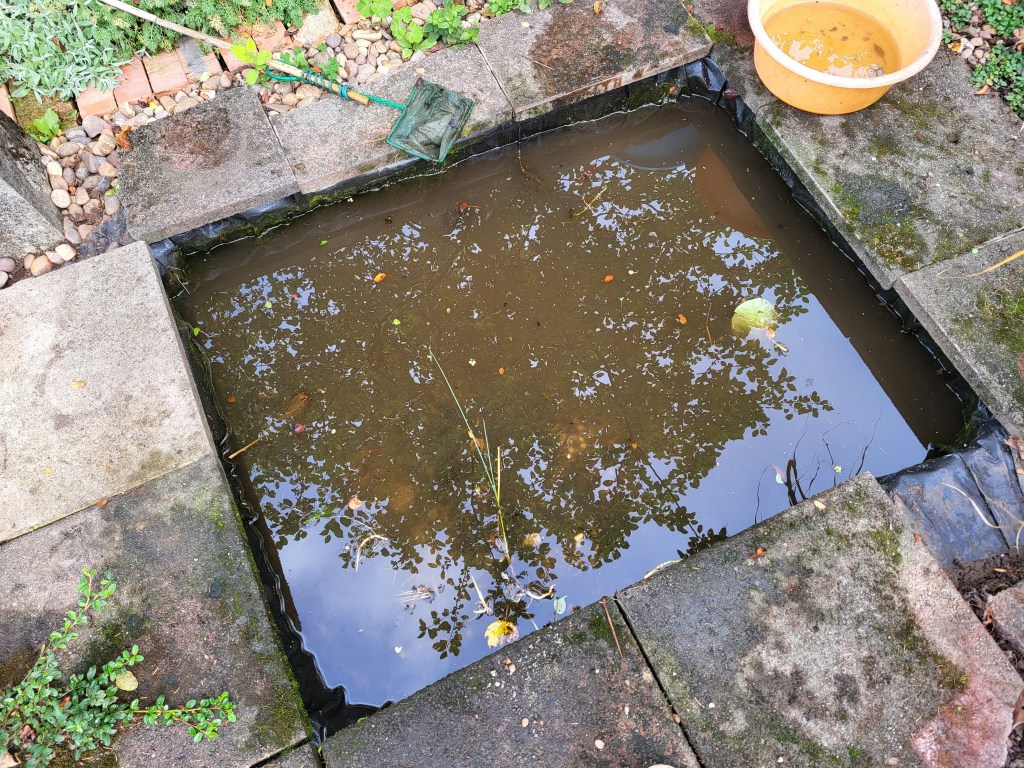
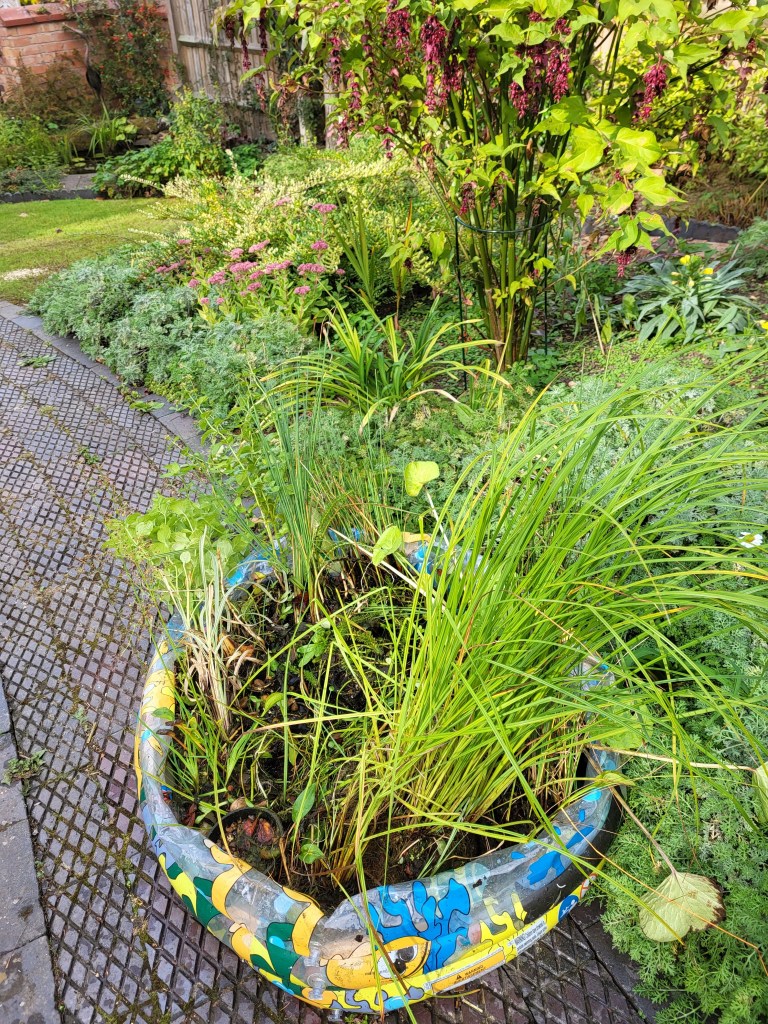
Some of the plants had gone rogue, spilling out of their pots and growing into the gravel on the pond floor. I lifted the whole lot out and into the paddling pond, saving the pruning and sorting process for later. The water spearmint was the main escapee, really heavy with gravel and roots and smelling lovely and minty.
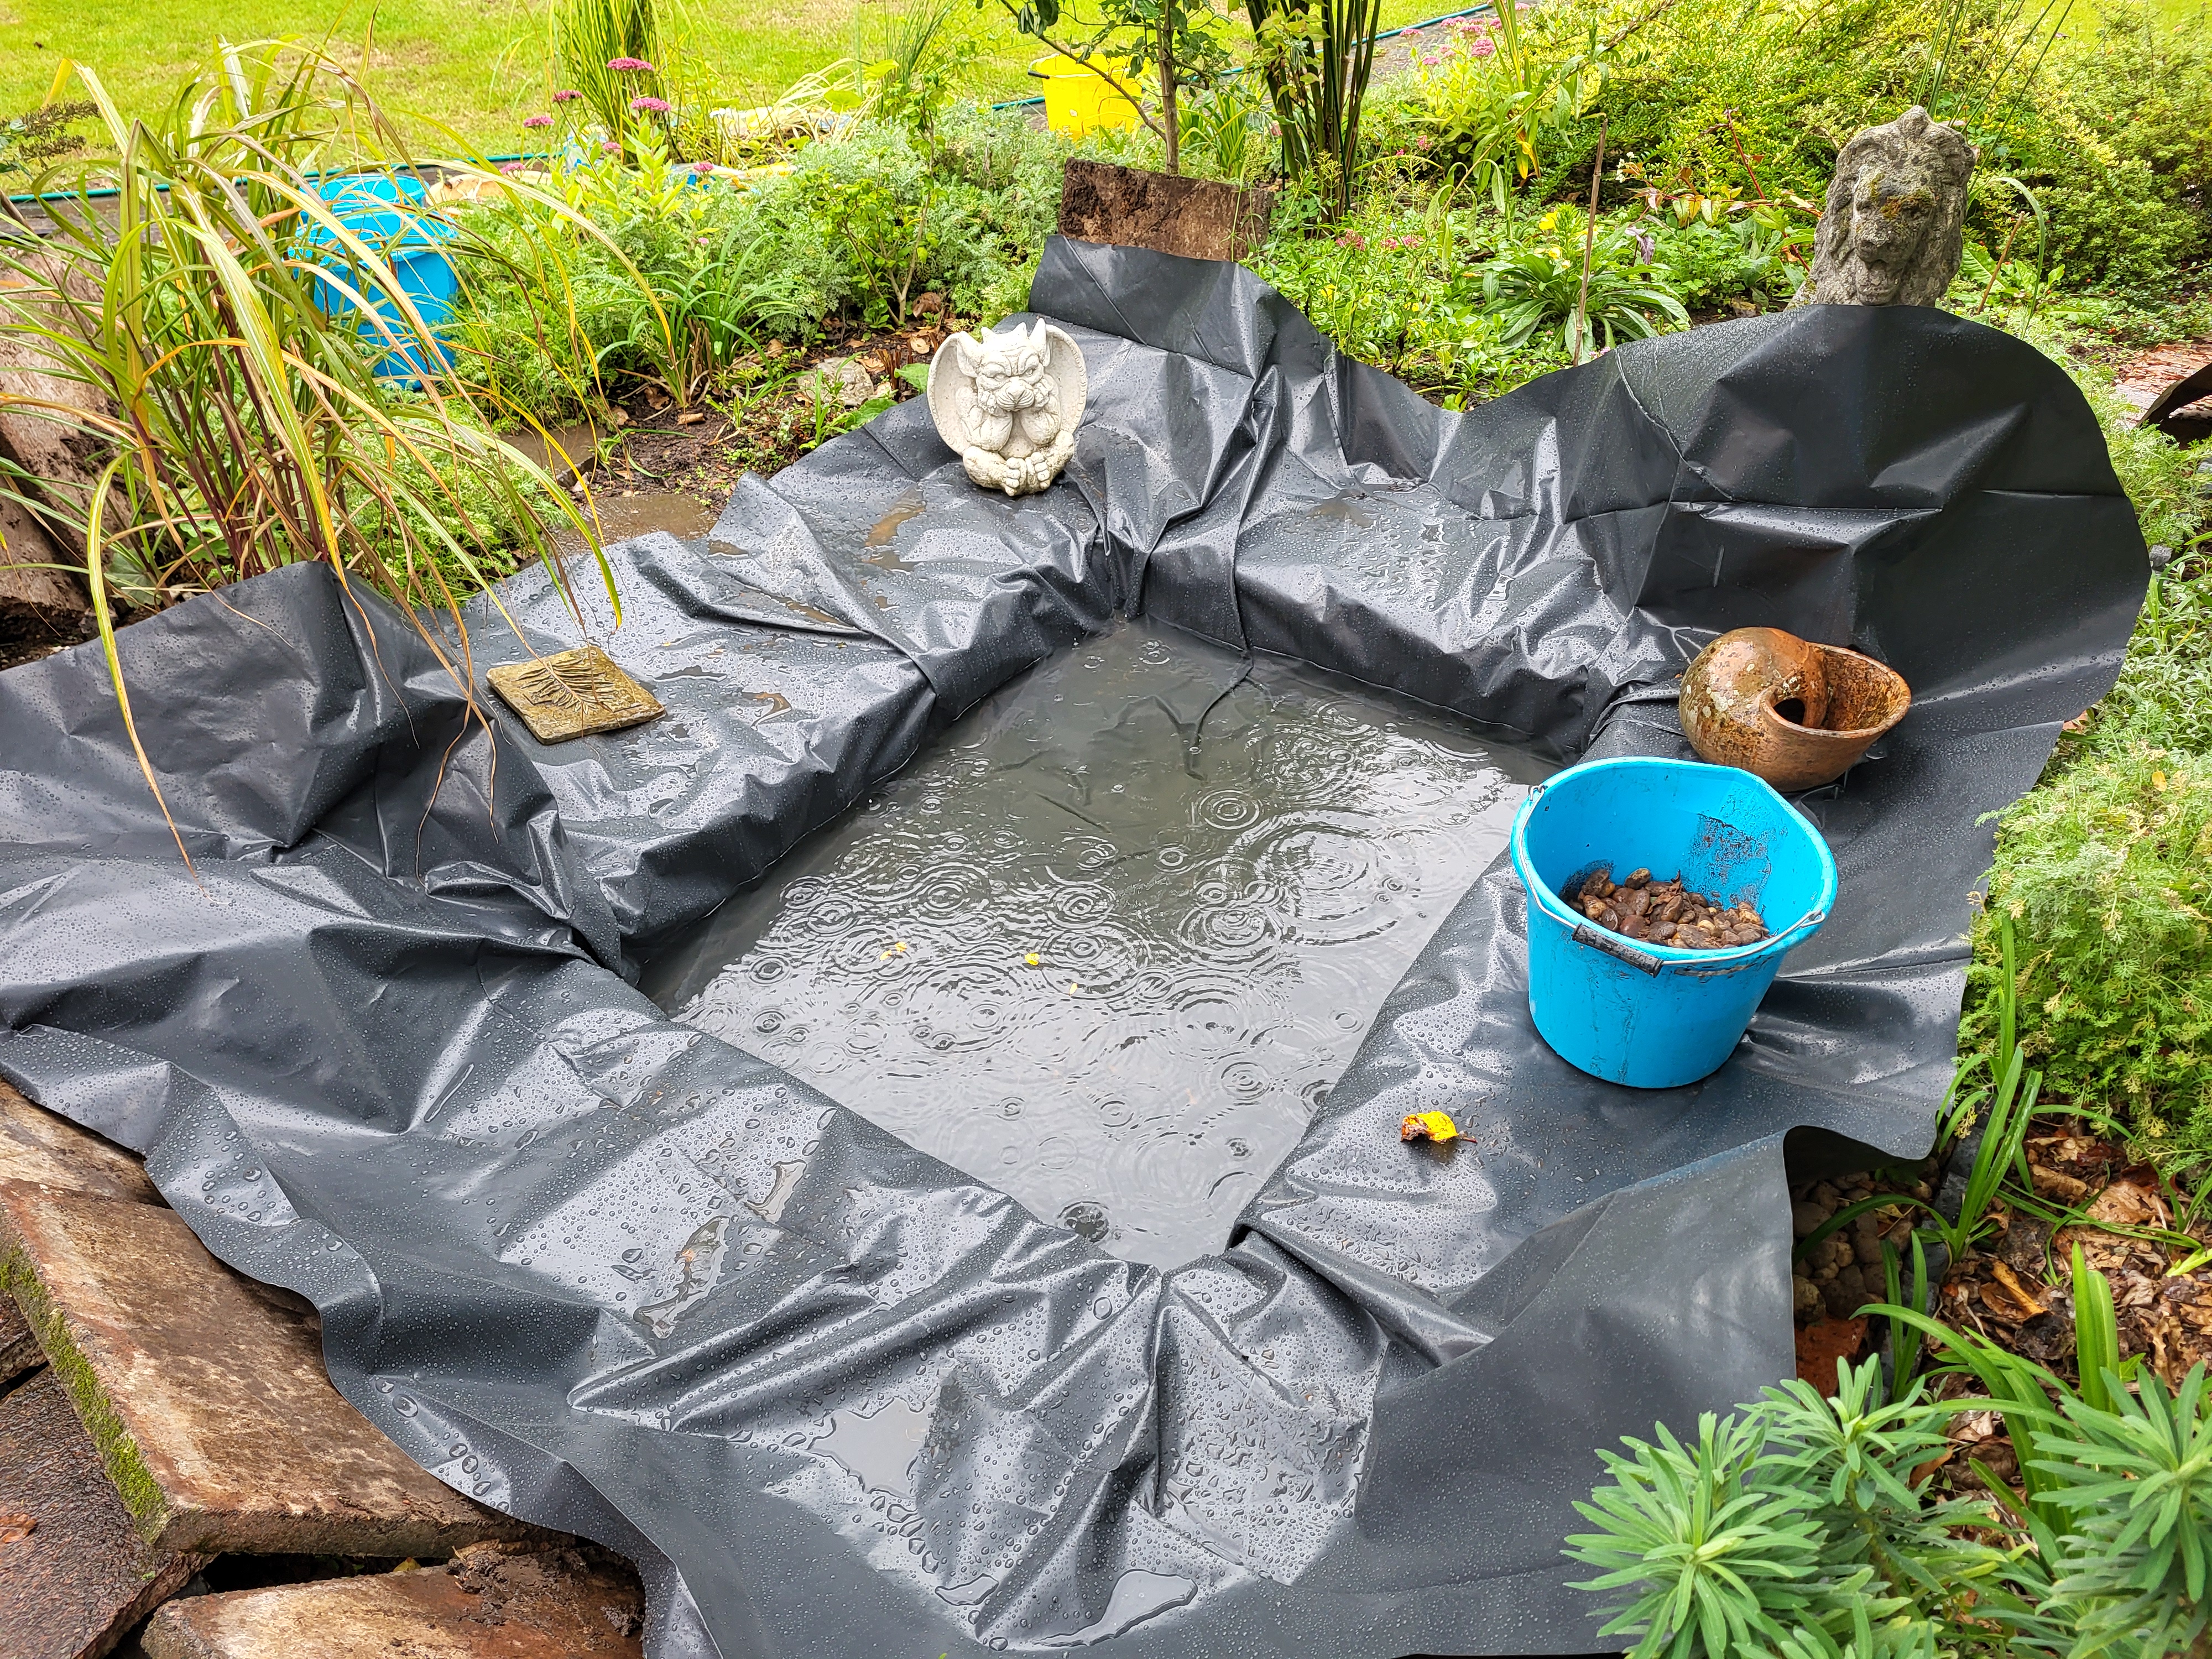
The next job was to make sure the shape of the pond was how I wanted it and the surrounding areas level.
Once I’d dug and leveled it to my satisfaction, I then cut and laid out the new liner, making sure it was tucked well into the corners. The I started to fill it with rainwater from the butts. Welcome rainfall helped me a little too.
The next step was to install the slabbing. I wanted the effect to be neater than my original plan that had included some half slabs, so I found some undamaged slabs in another part of the garden (behind the laurel shrubs) to complete the full border. Levelling was aided by some builder’s sand left over from another job.
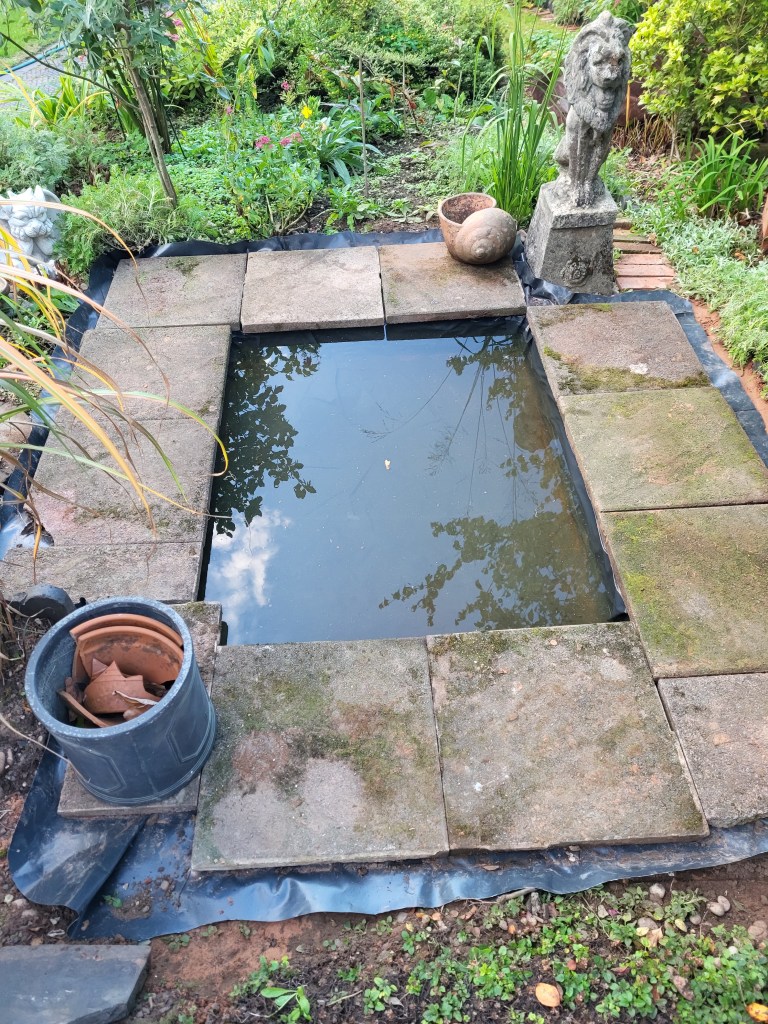
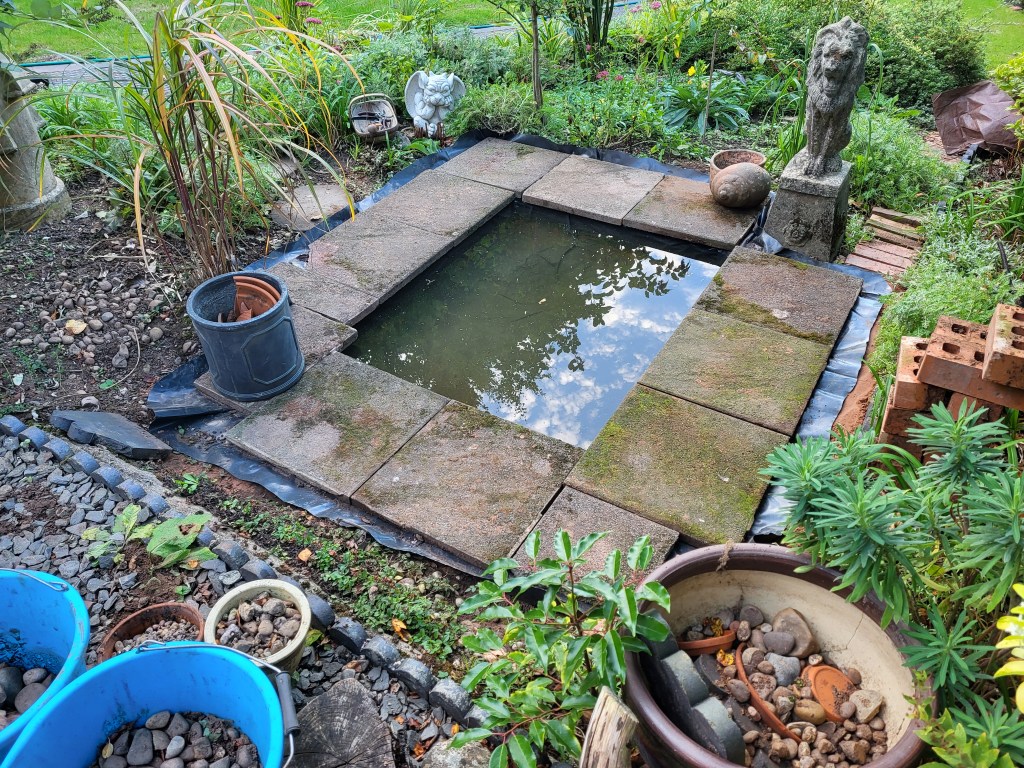
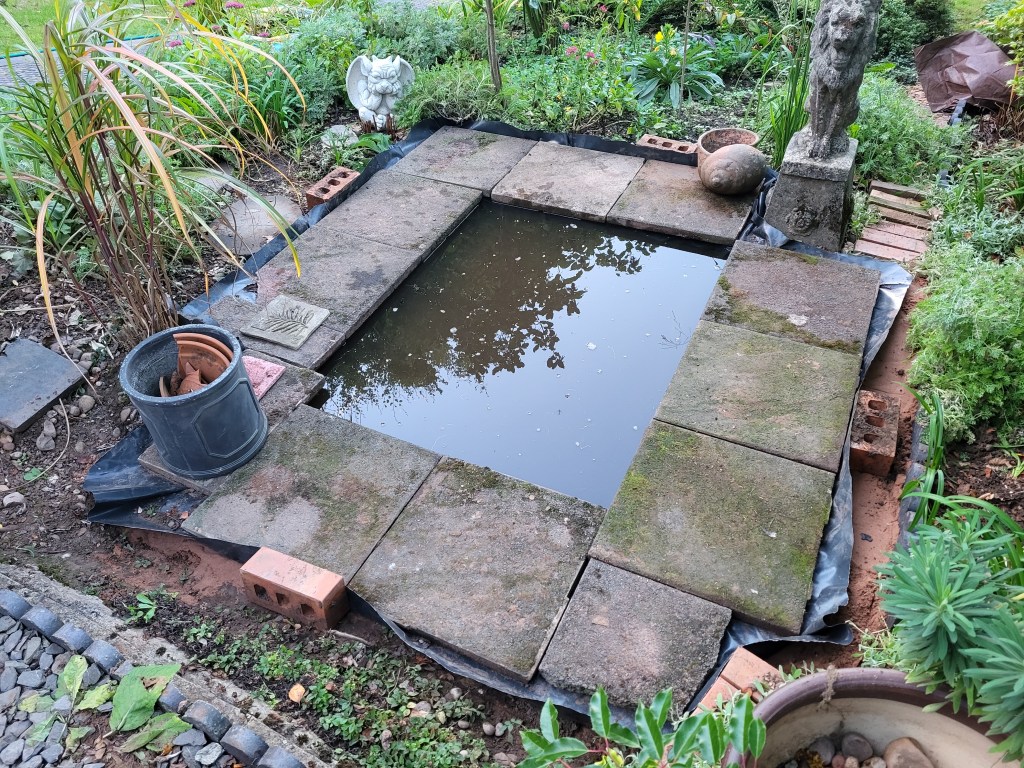
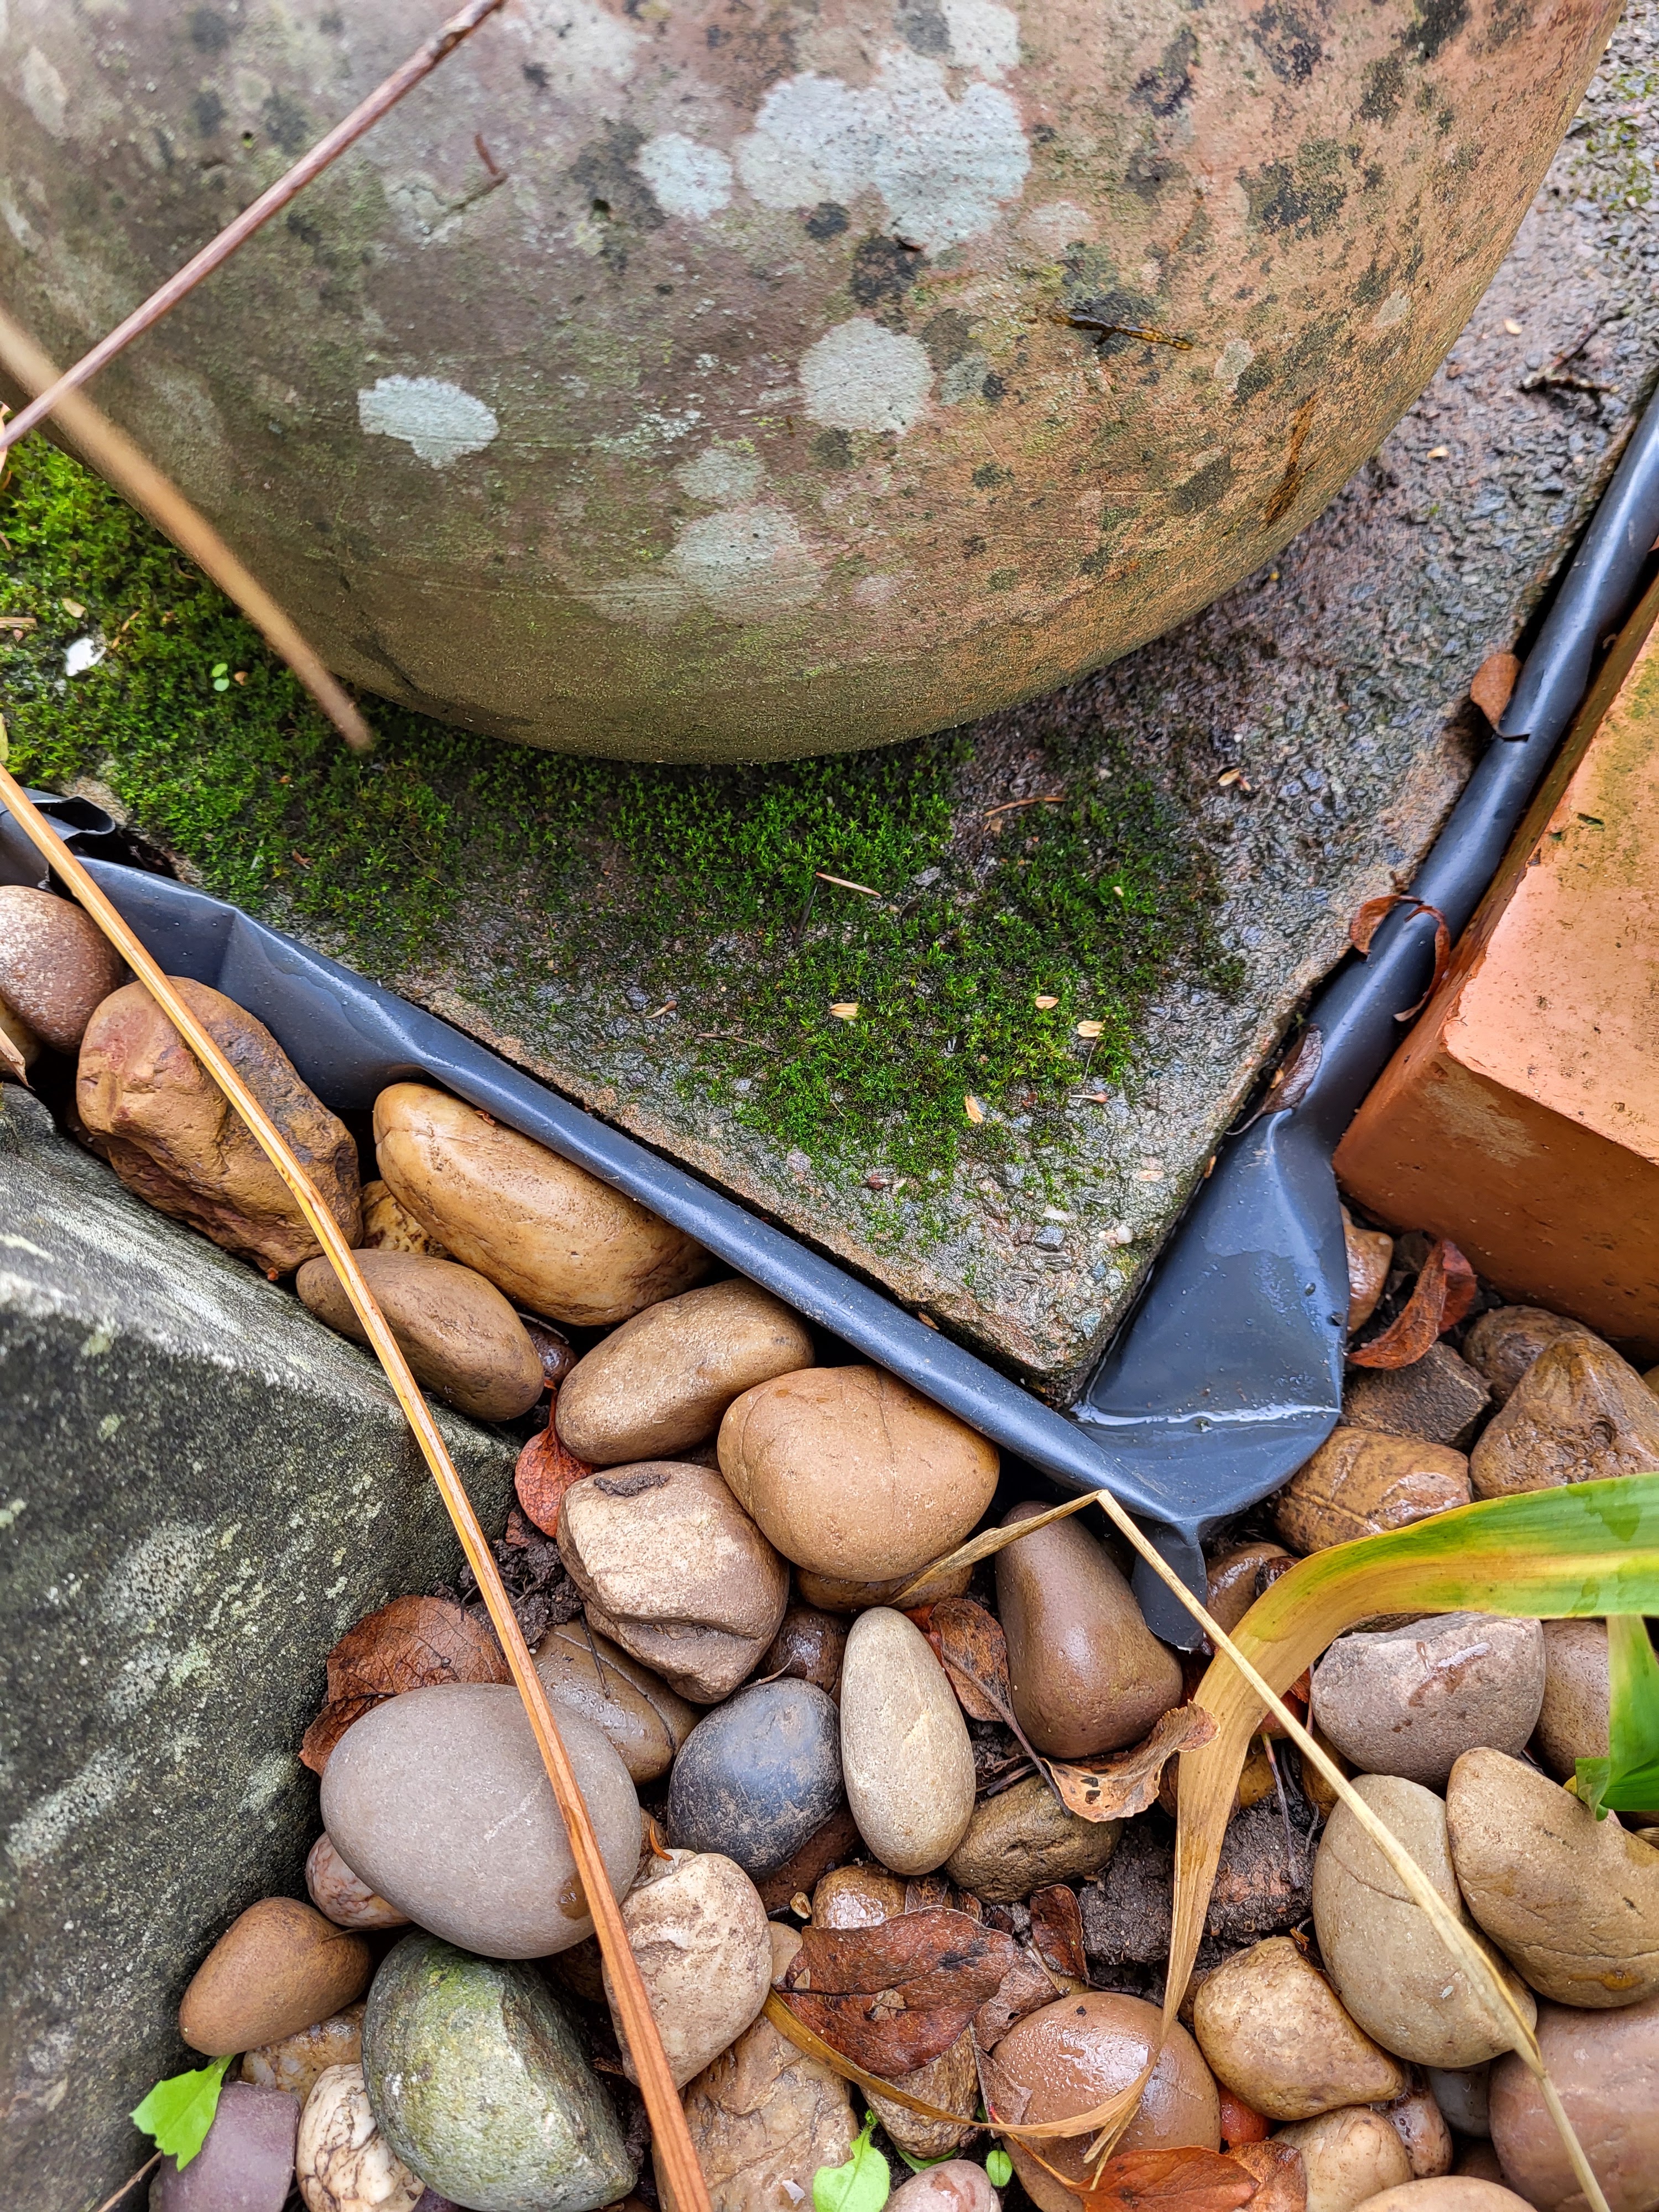
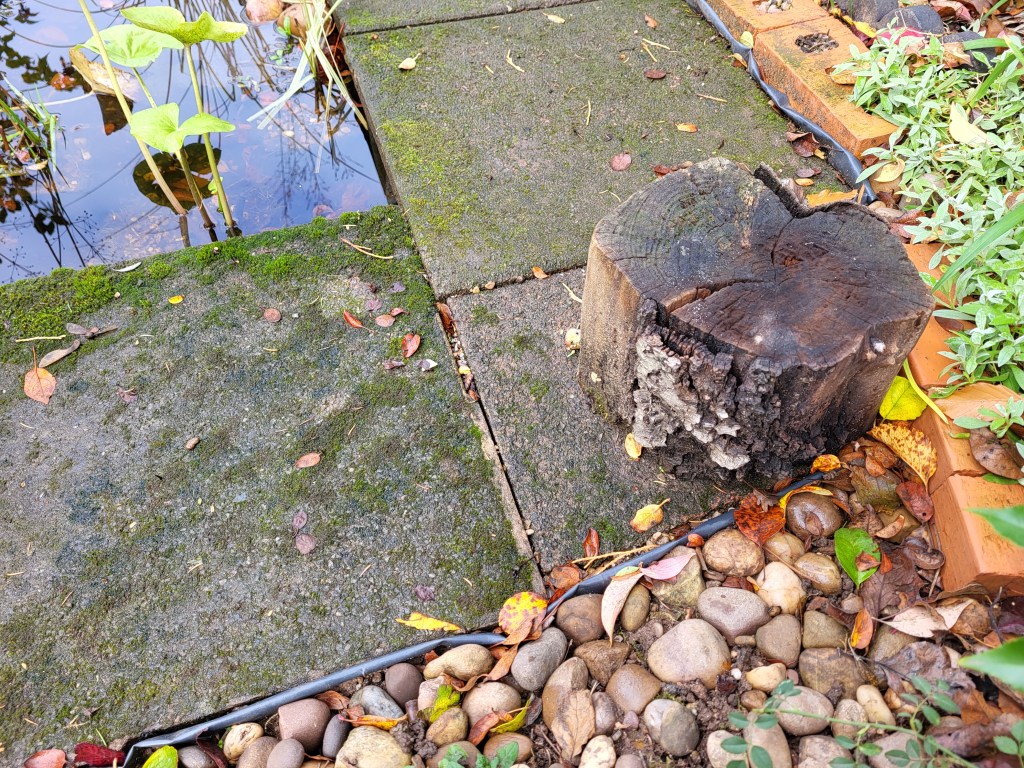
Once the slabs were in place, I topped up the water level, cut the liner to shape, and started on the finishing touches, putting the main pots back into place. My main concern was to keep the water in the pond so, instead of cutting the liner so it would be completely hidden, I left it showing beyond the slabs and propped it up with bricks. I then filled with more water to test where the lowest spot would be. Once I’d worked that out, I folded down a small channel at the back of the lion statue, to act as an overflow.
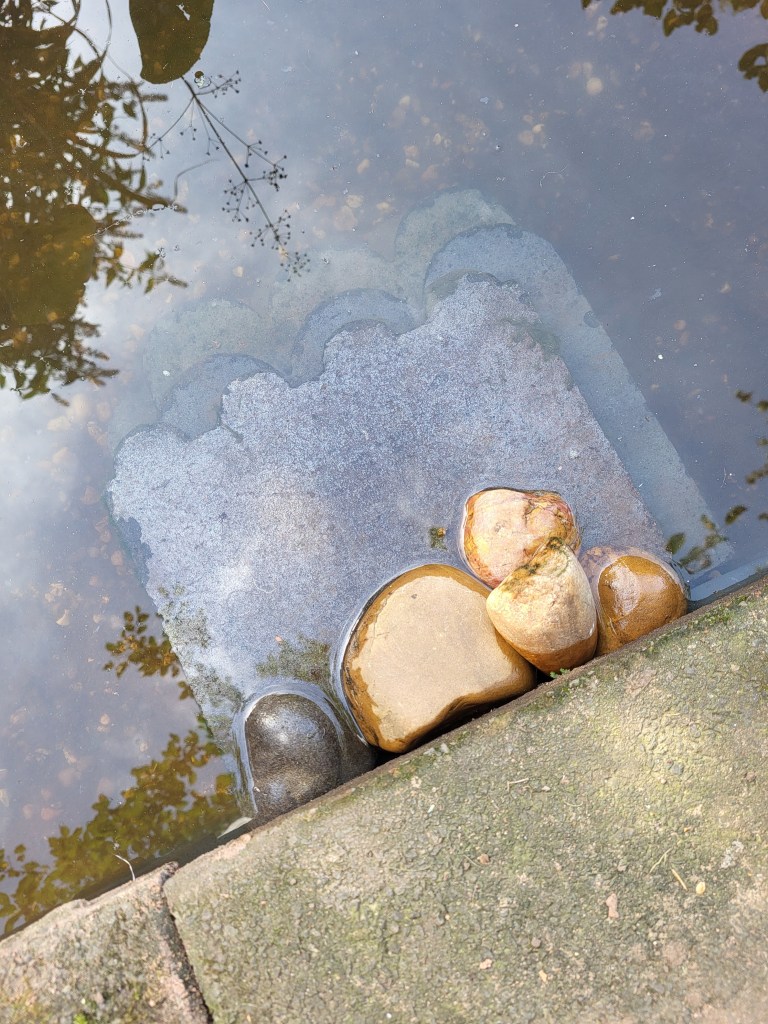
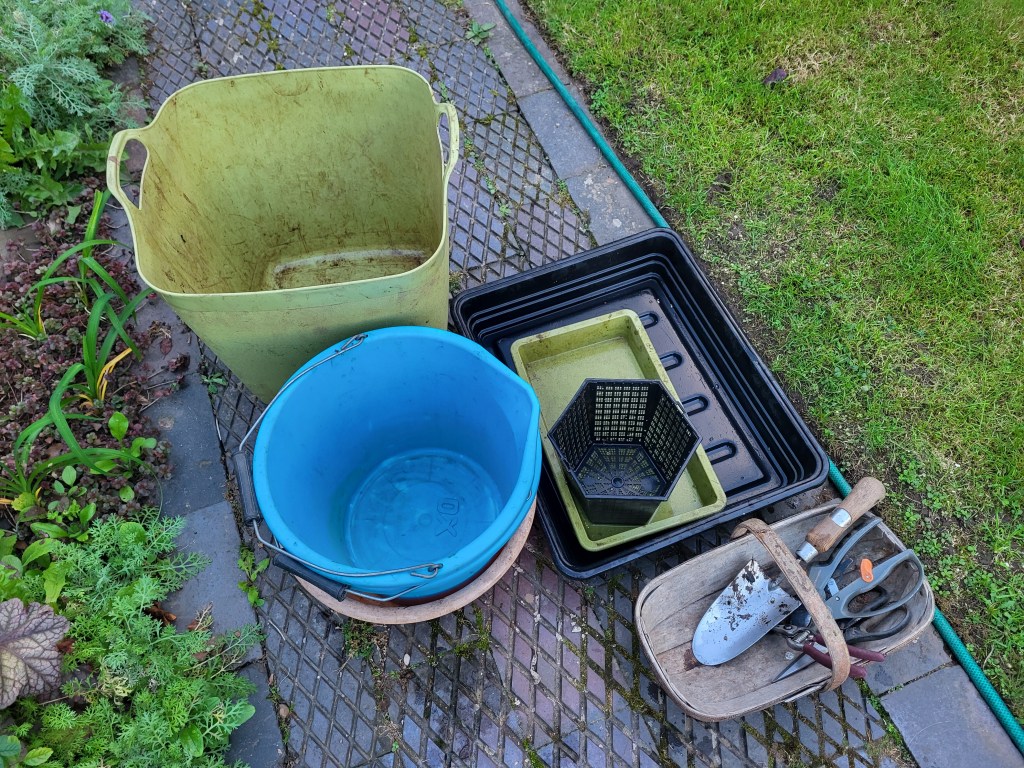
Then I started to install pond features, such as the frog staircase, made from victorian edging tiles and the first, neatly trimmed and pruned plants. It was a relief to be able to clean the trays and tools after what was a particularly messy and time-consuing task.
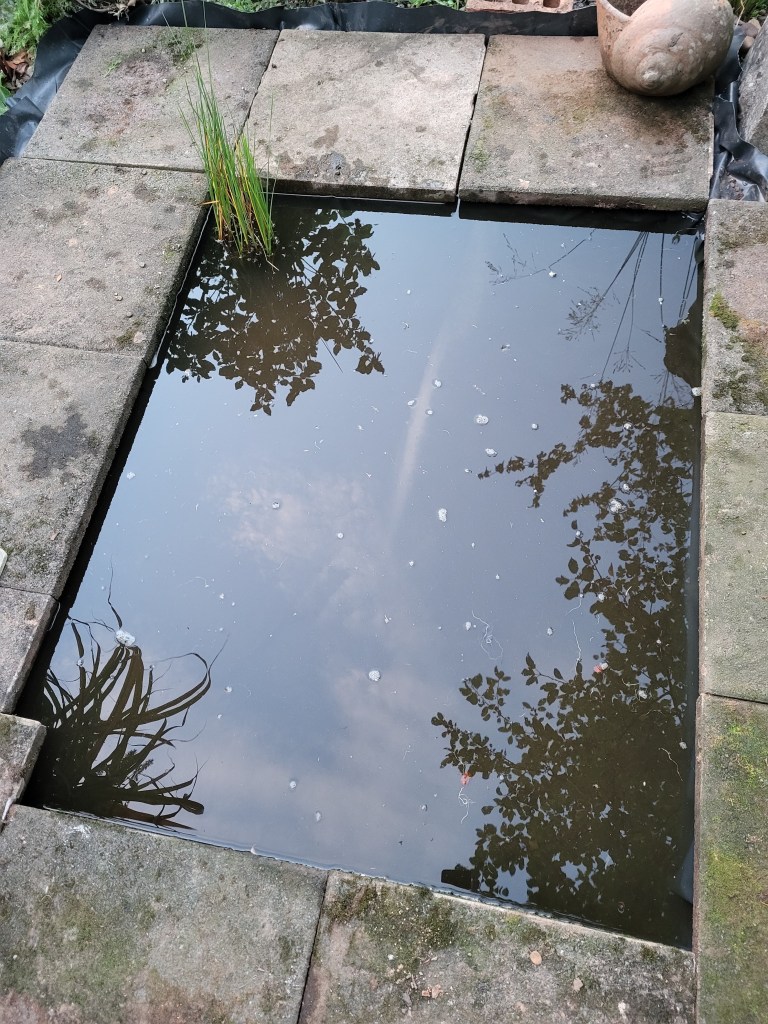
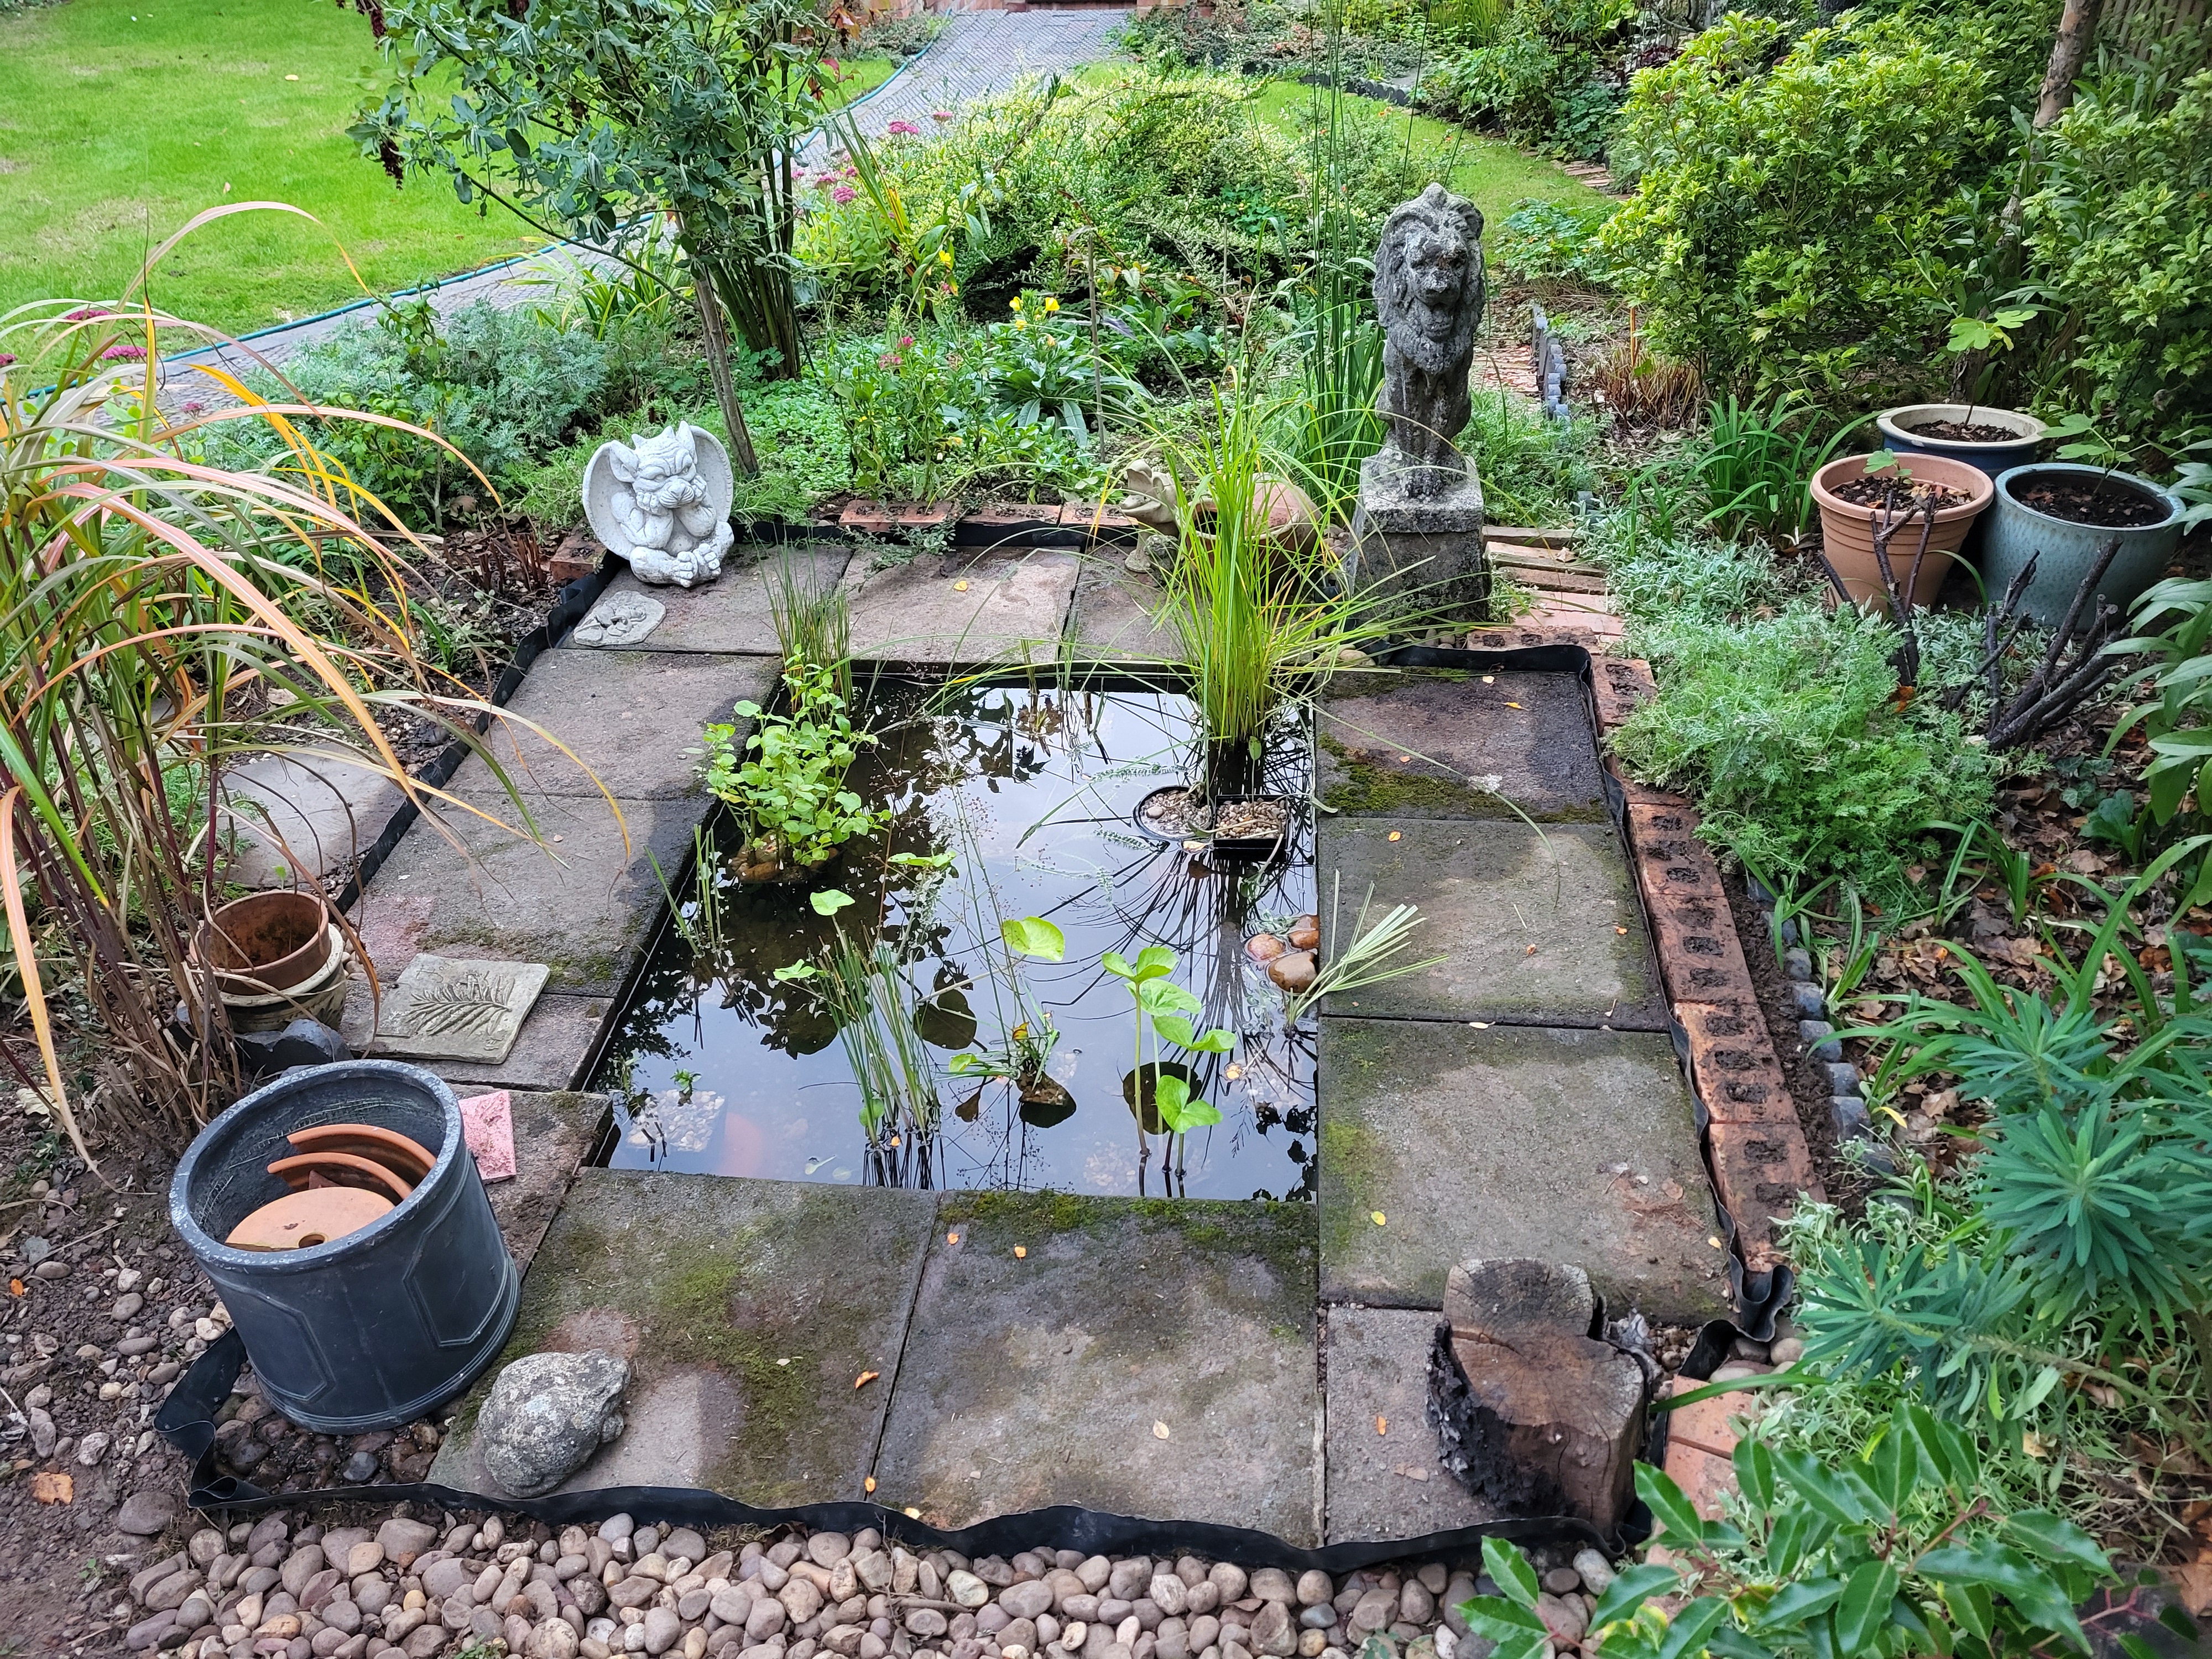
I left the liner showing while I completed the replanting process and backfilled with the pebbles I had removed at the start of the job. I added a decorative row of bricks that were lying around just asking to be used for something. They helped to support the liner and also provided a home for some left over gravel. To be honest, I still didn’t have a final plan for the liner at this stage.
Fortunately an idea arrived over a cup of coffee and I decided not to cut the liner any further. Instead I tucked it round so it showed as just a line around the whole pond. I think the final look is good while also giving me some options if needed in future. You may notice that, by the time I remembered to take pictures of the finished pond, autumn had arrived.